Key takeaways
- Start with one complete user workflow
- Customize source and test across screen sizes
- Connect and verify live services separately
Map the client journey first
A client workspace should make the next useful step easy to find. Write down the project stages, the documents a client needs and the questions they usually ask. Atelier uses three fictional creative projects to demonstrate that journey. Its warm visual style supports a quieter reading experience, but the content structure matters just as much. Give every project a clear status, a next milestone and a practical route to its shared material.
Make one controlled customization
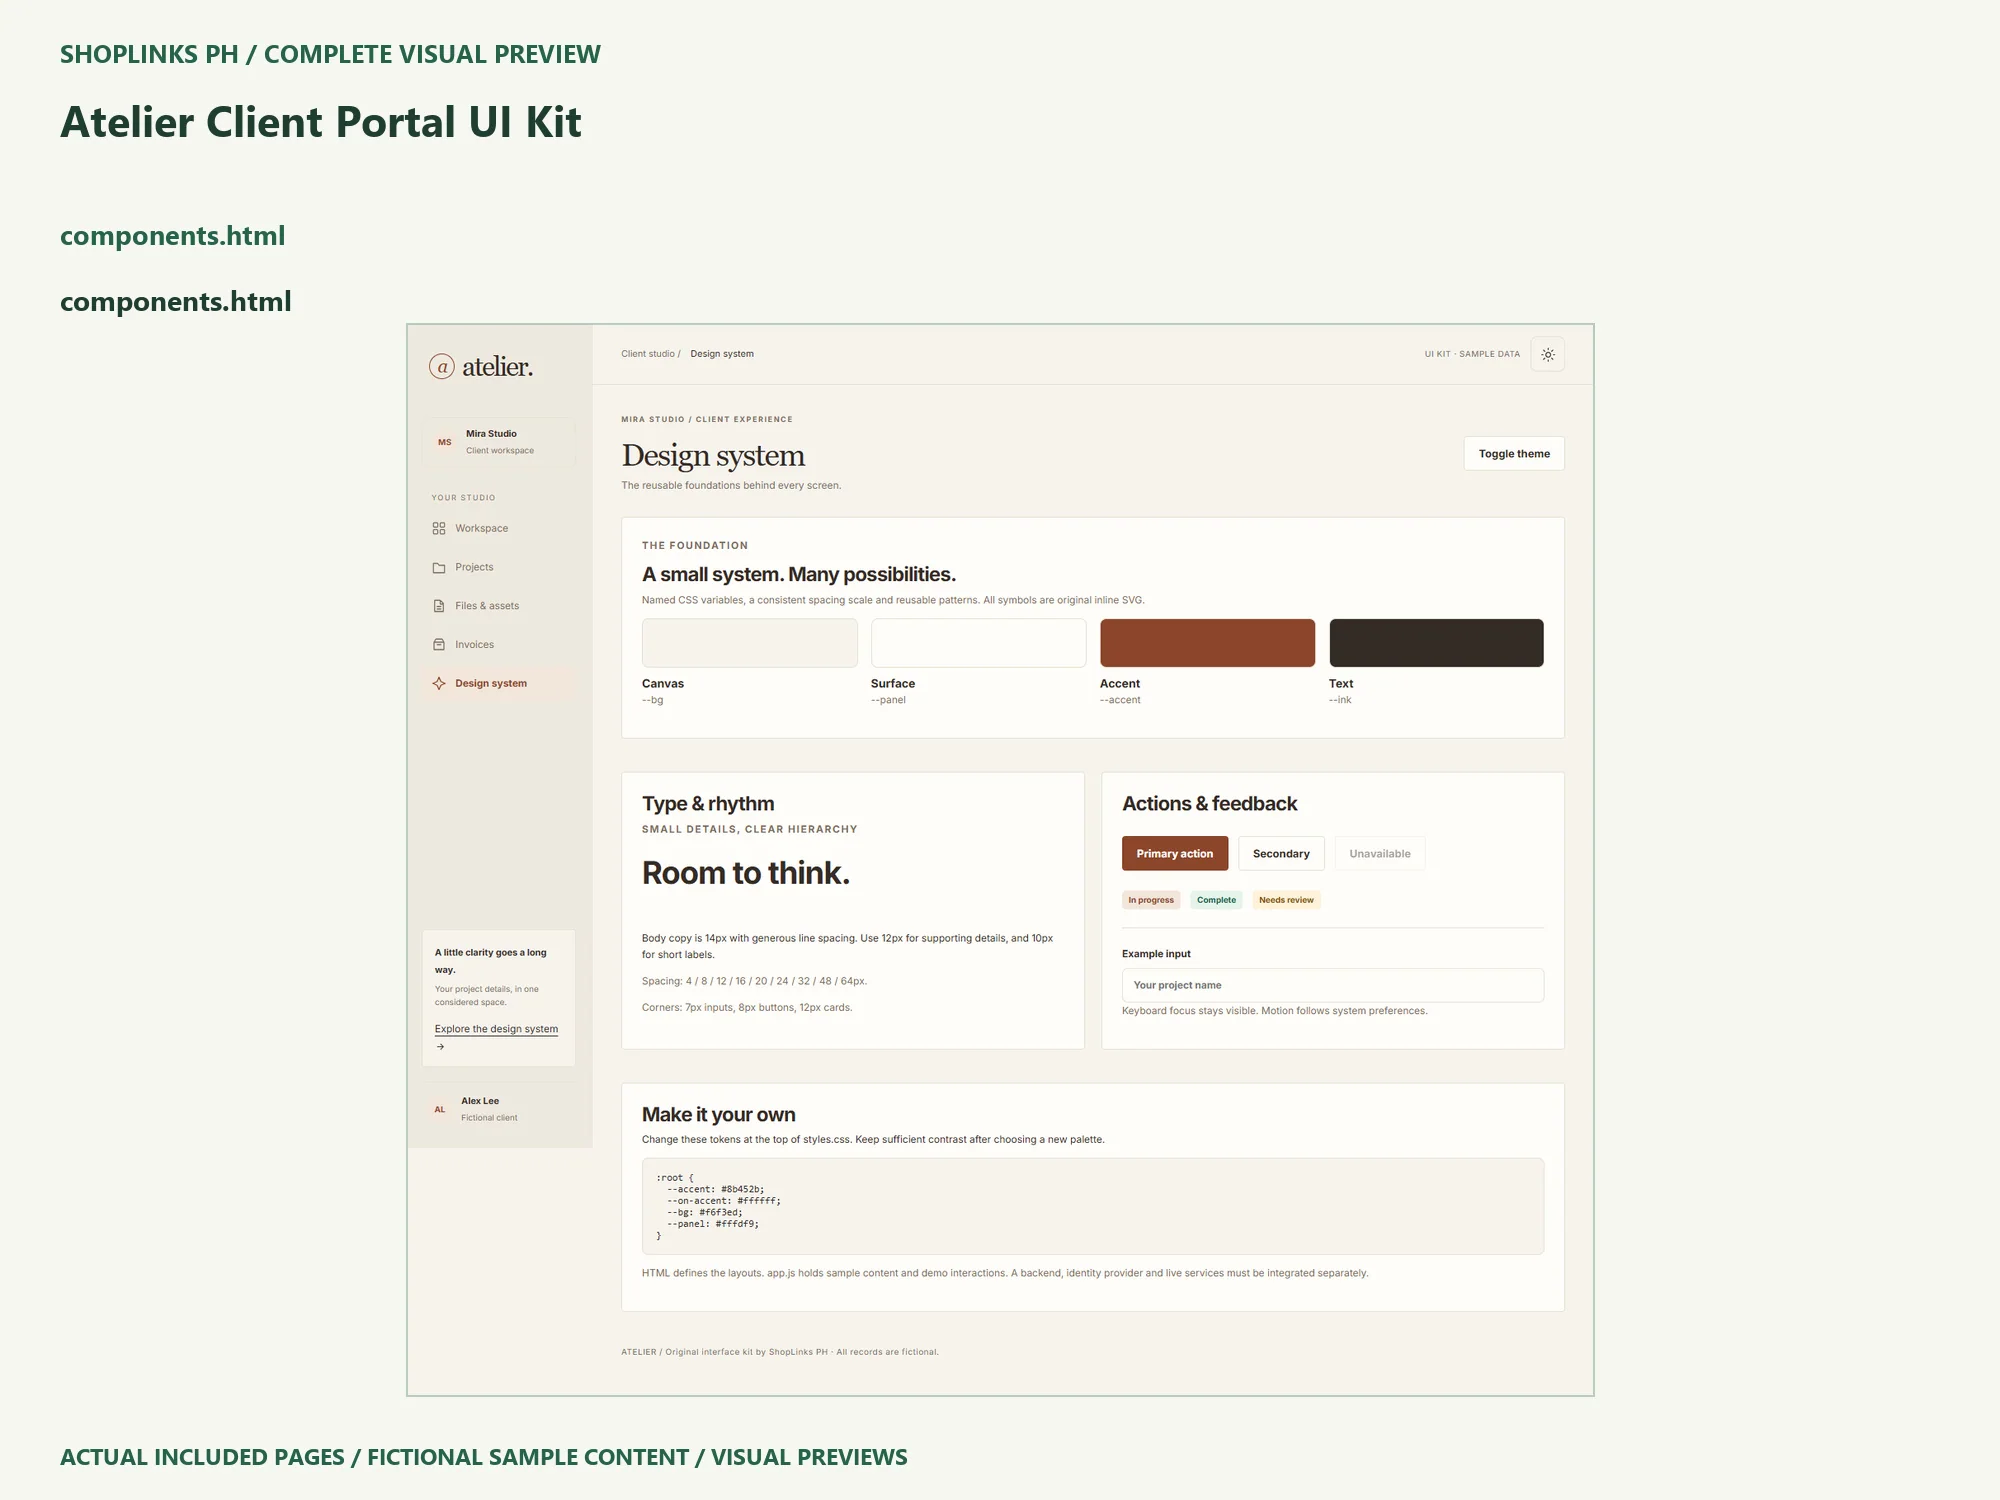
Extract the package into a new folder and keep an untouched copy. Open site/index.html, visit every screen, and read the illustrated guide before editing. Use a text editor to change one heading and one accent color. The shared styles.css file contains named variables for the canvas, surface, text and accent. Keep the original spacing and type hierarchy during the first pass so you can judge the effect of the content change without several moving parts.
Walk through a complete review
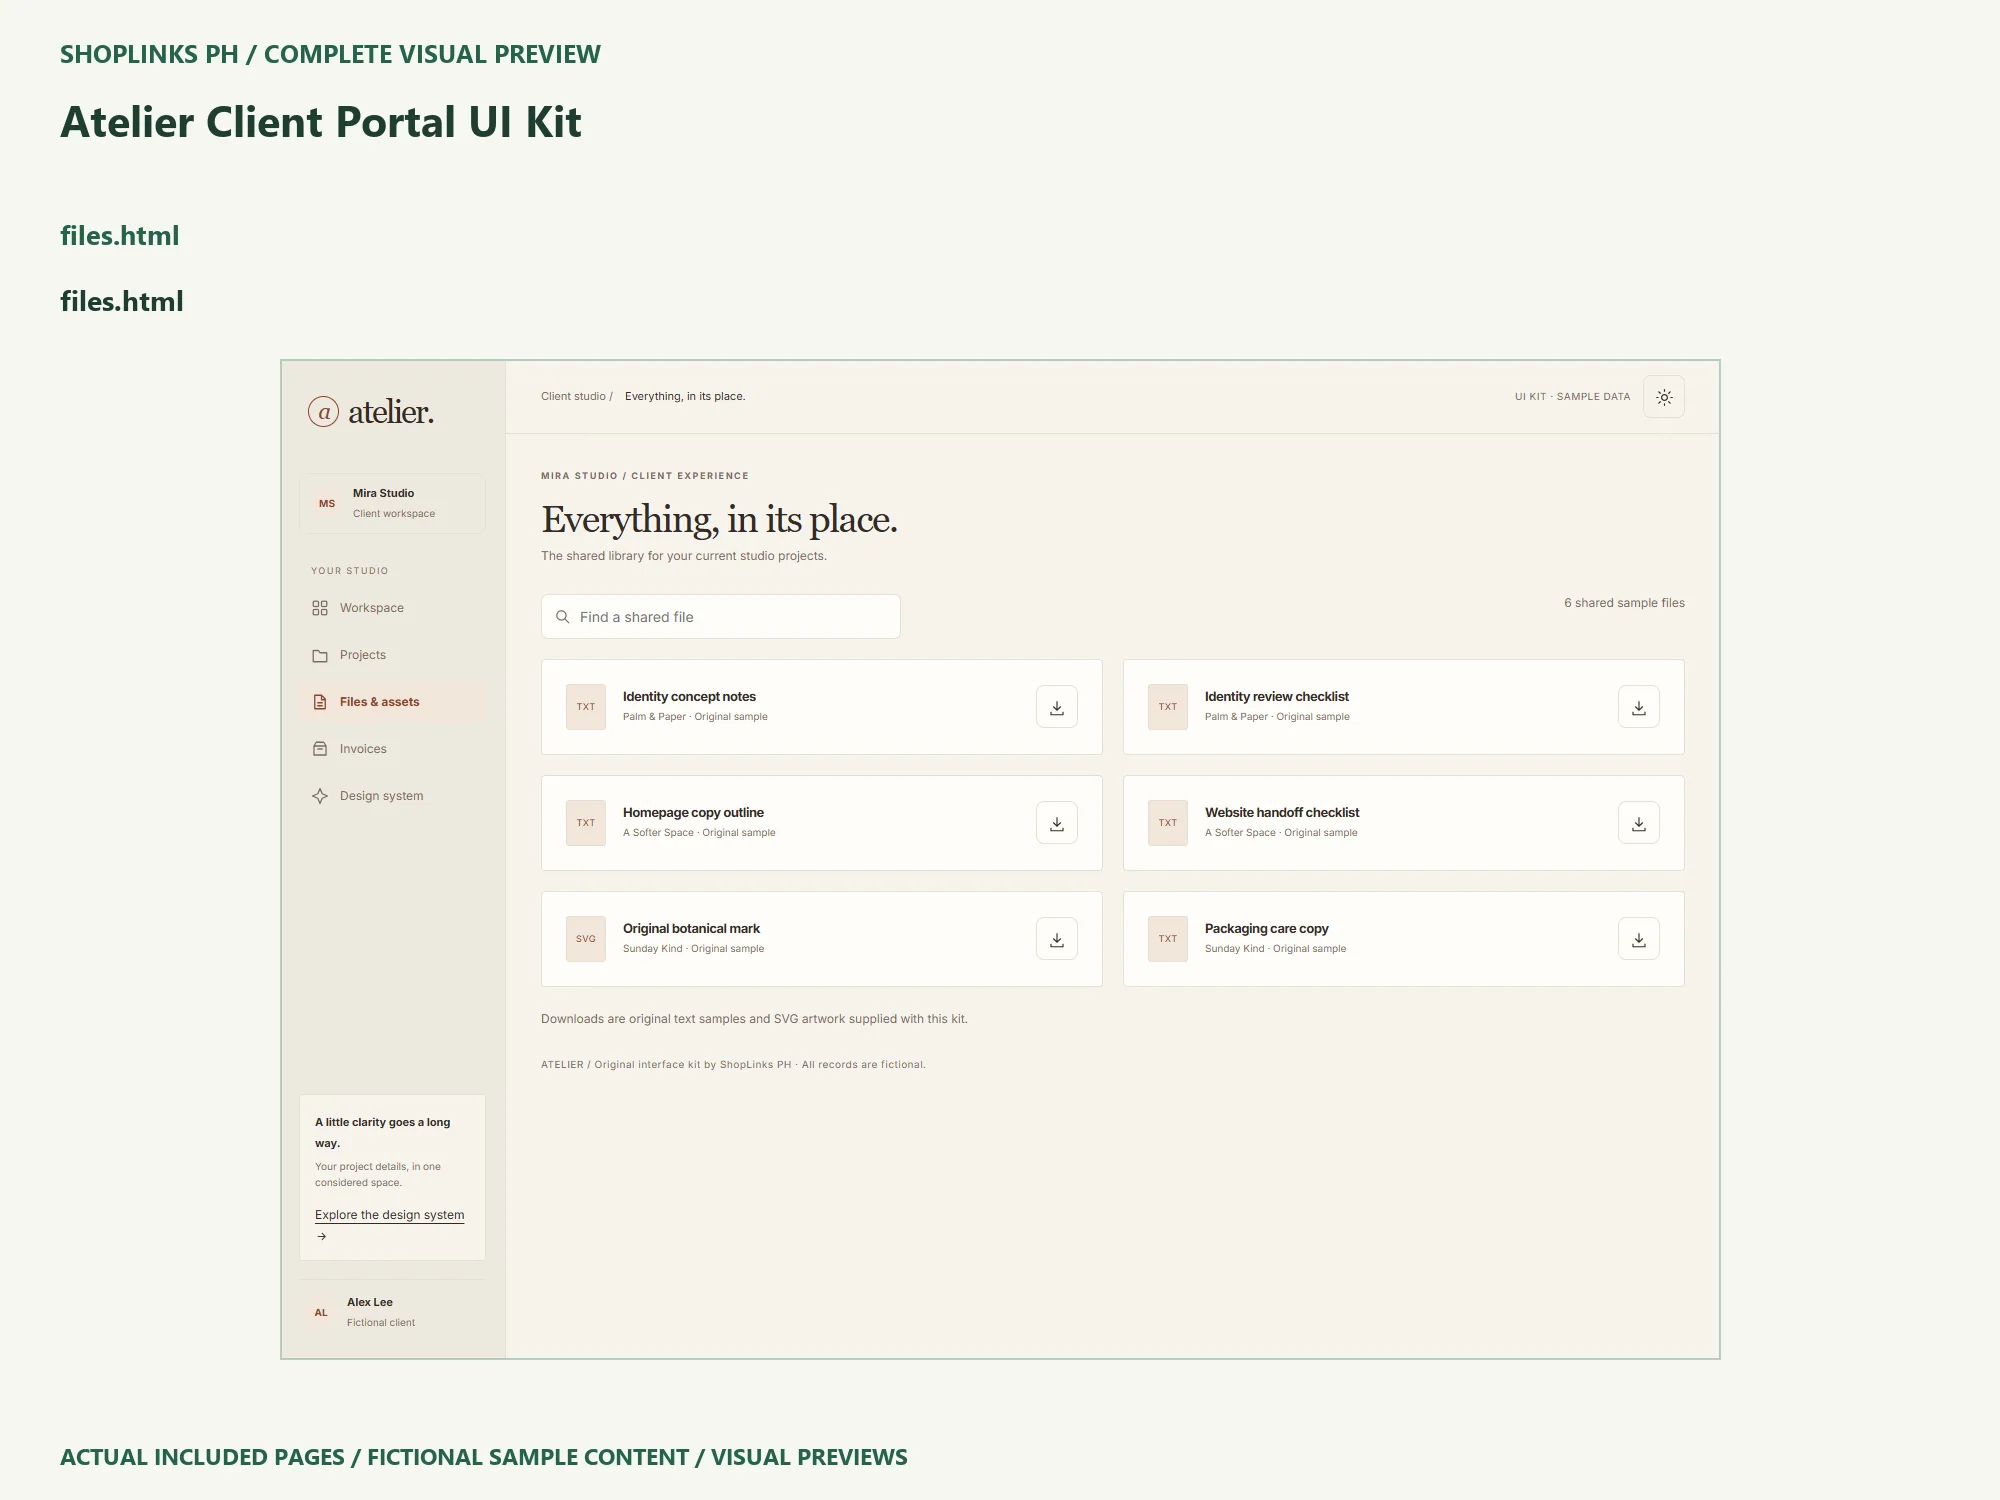
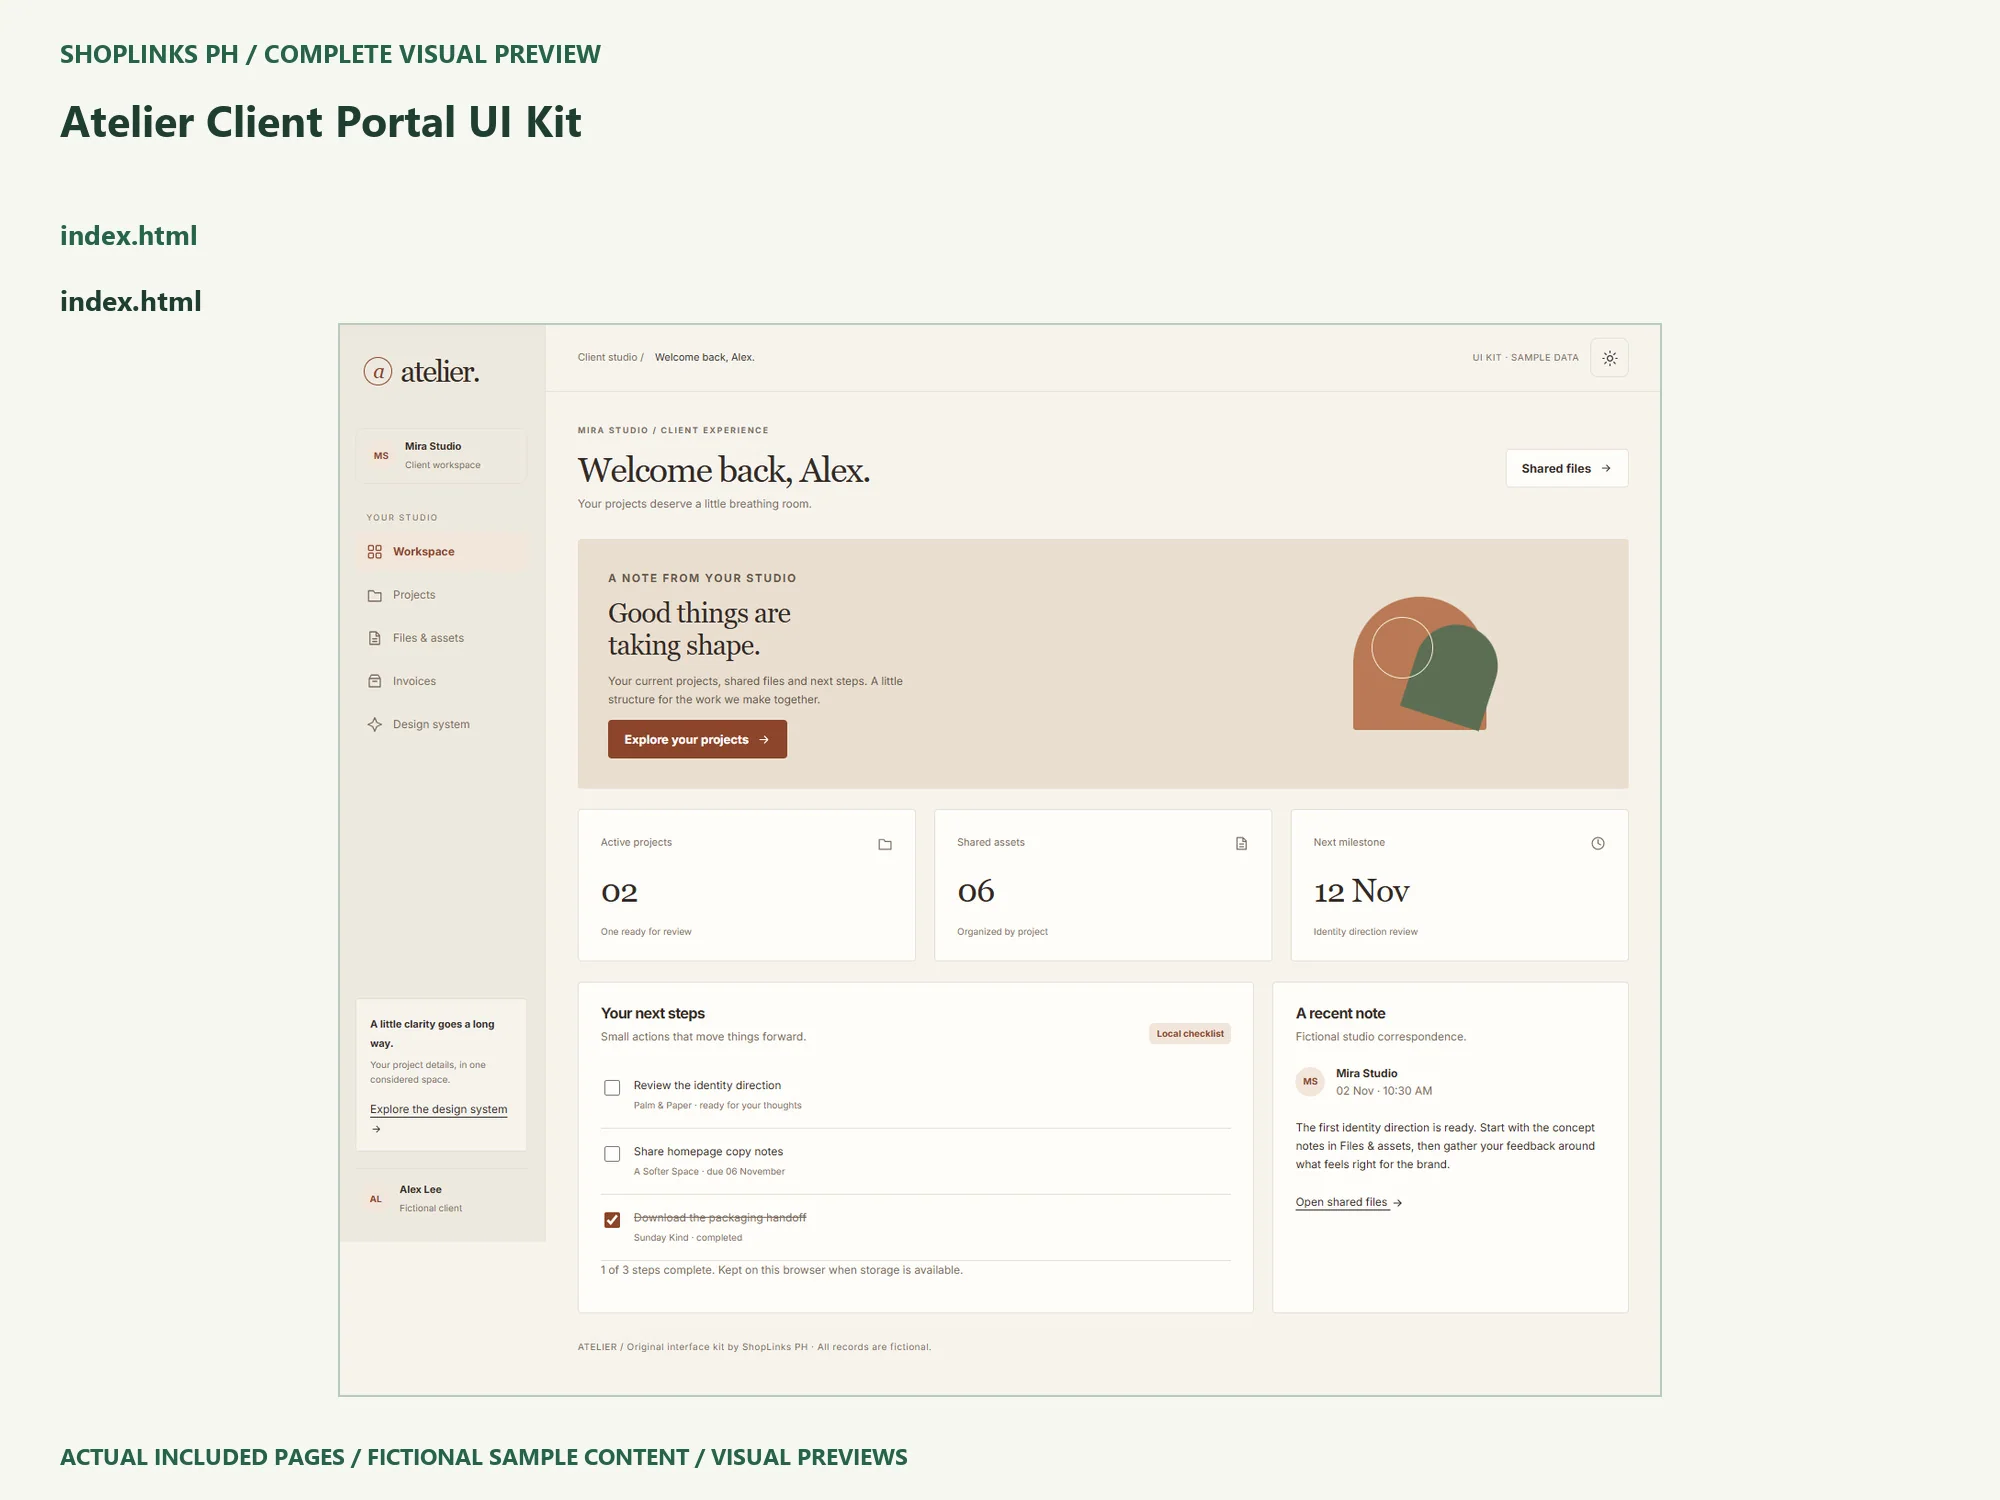
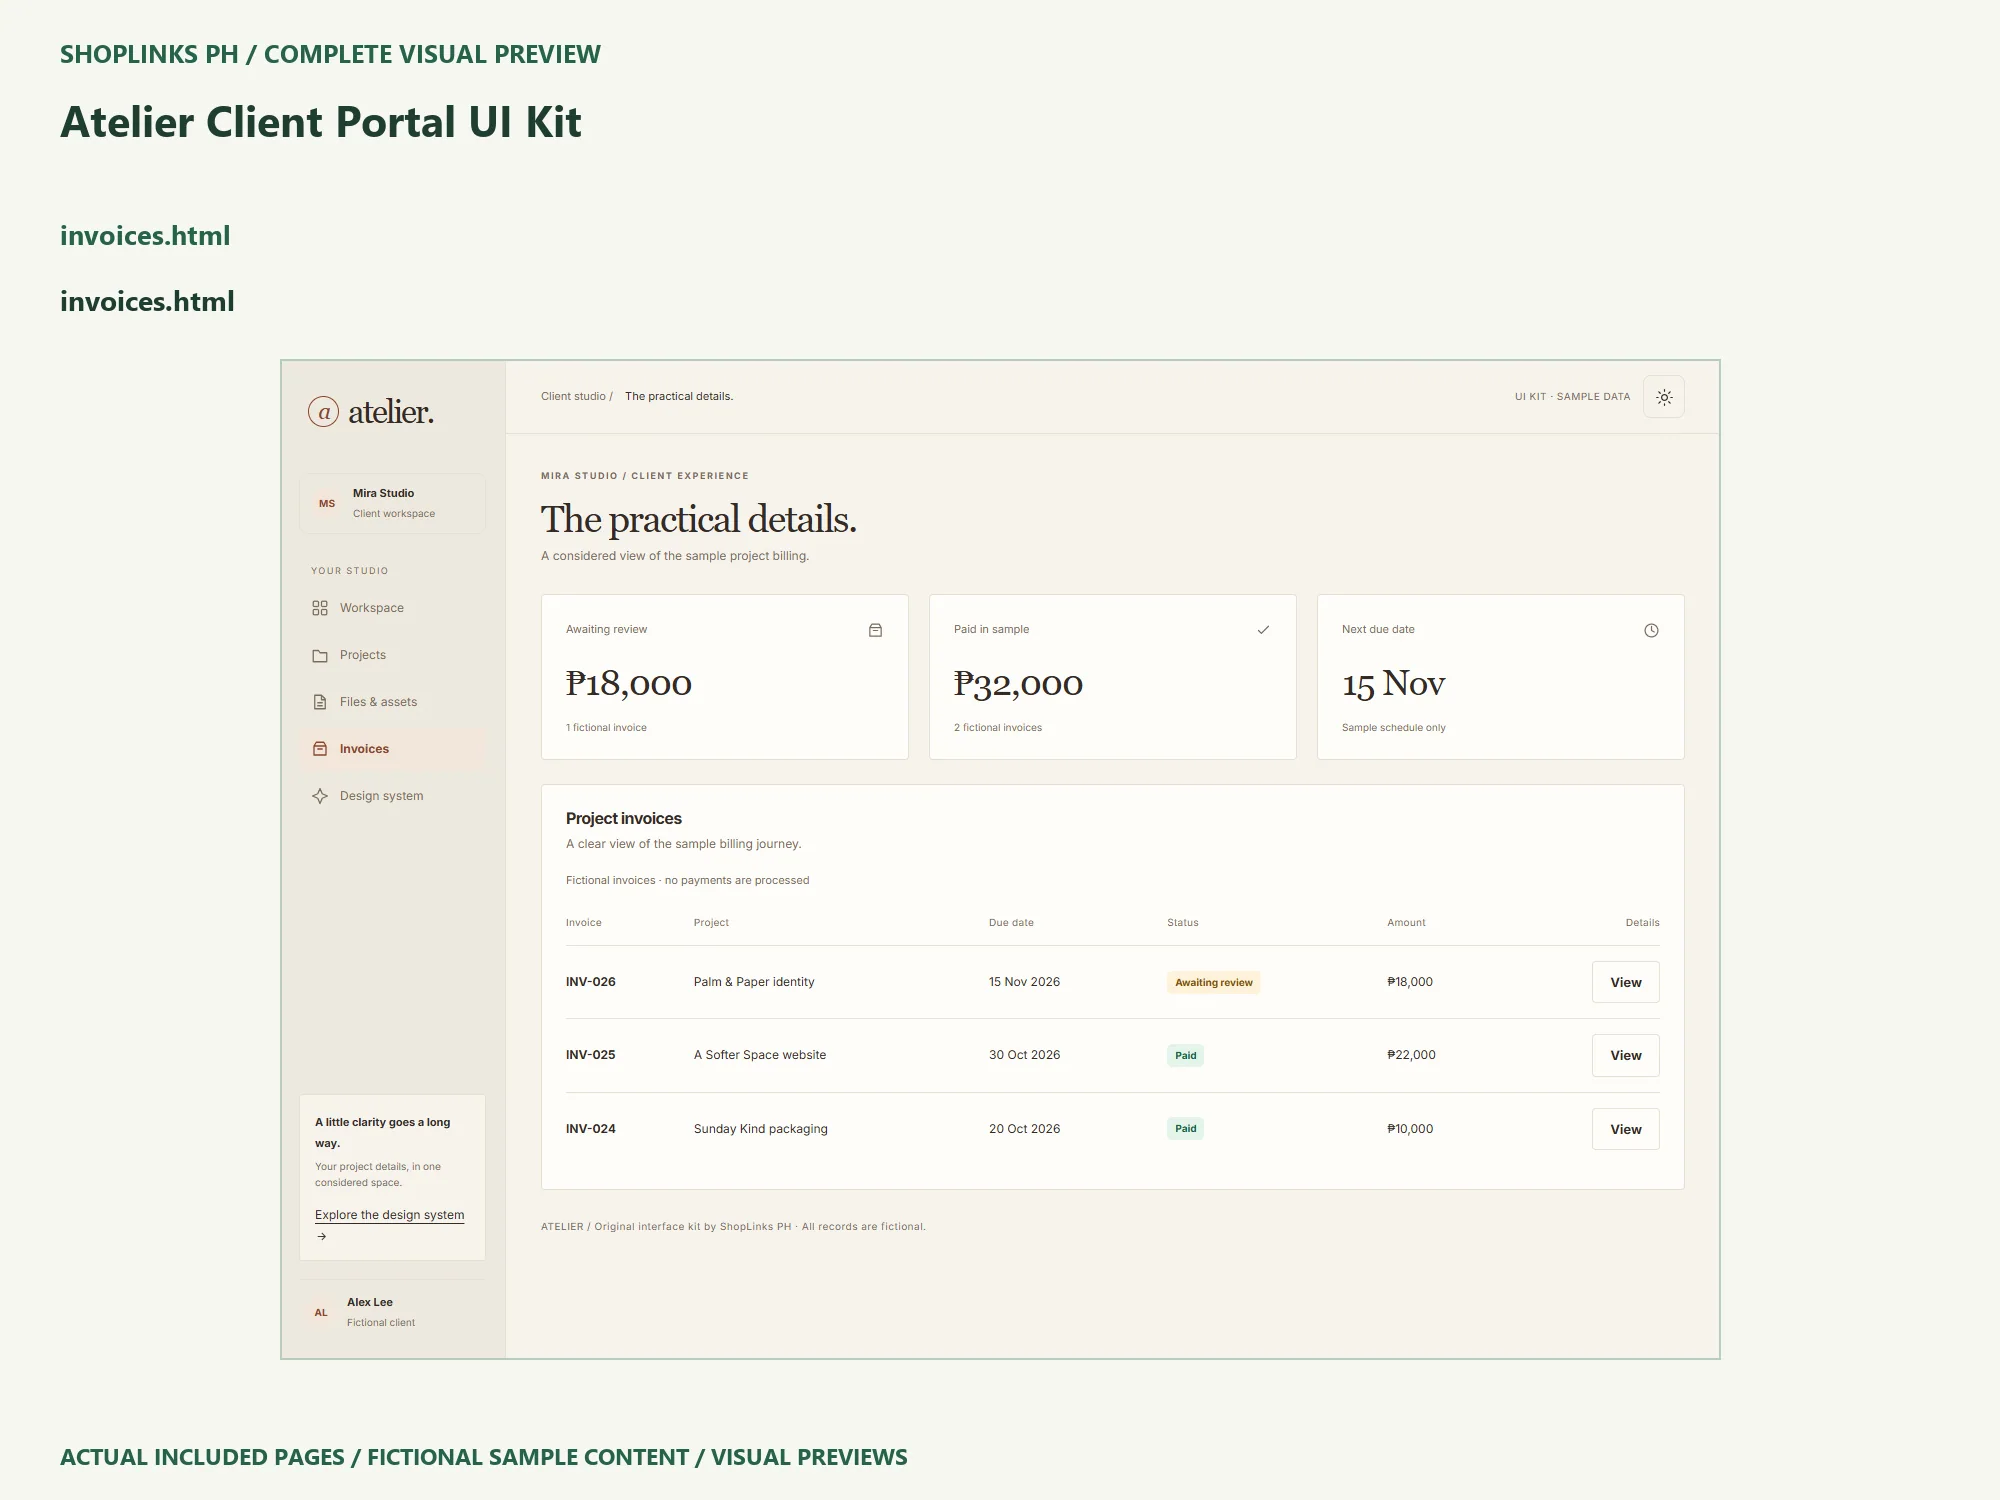
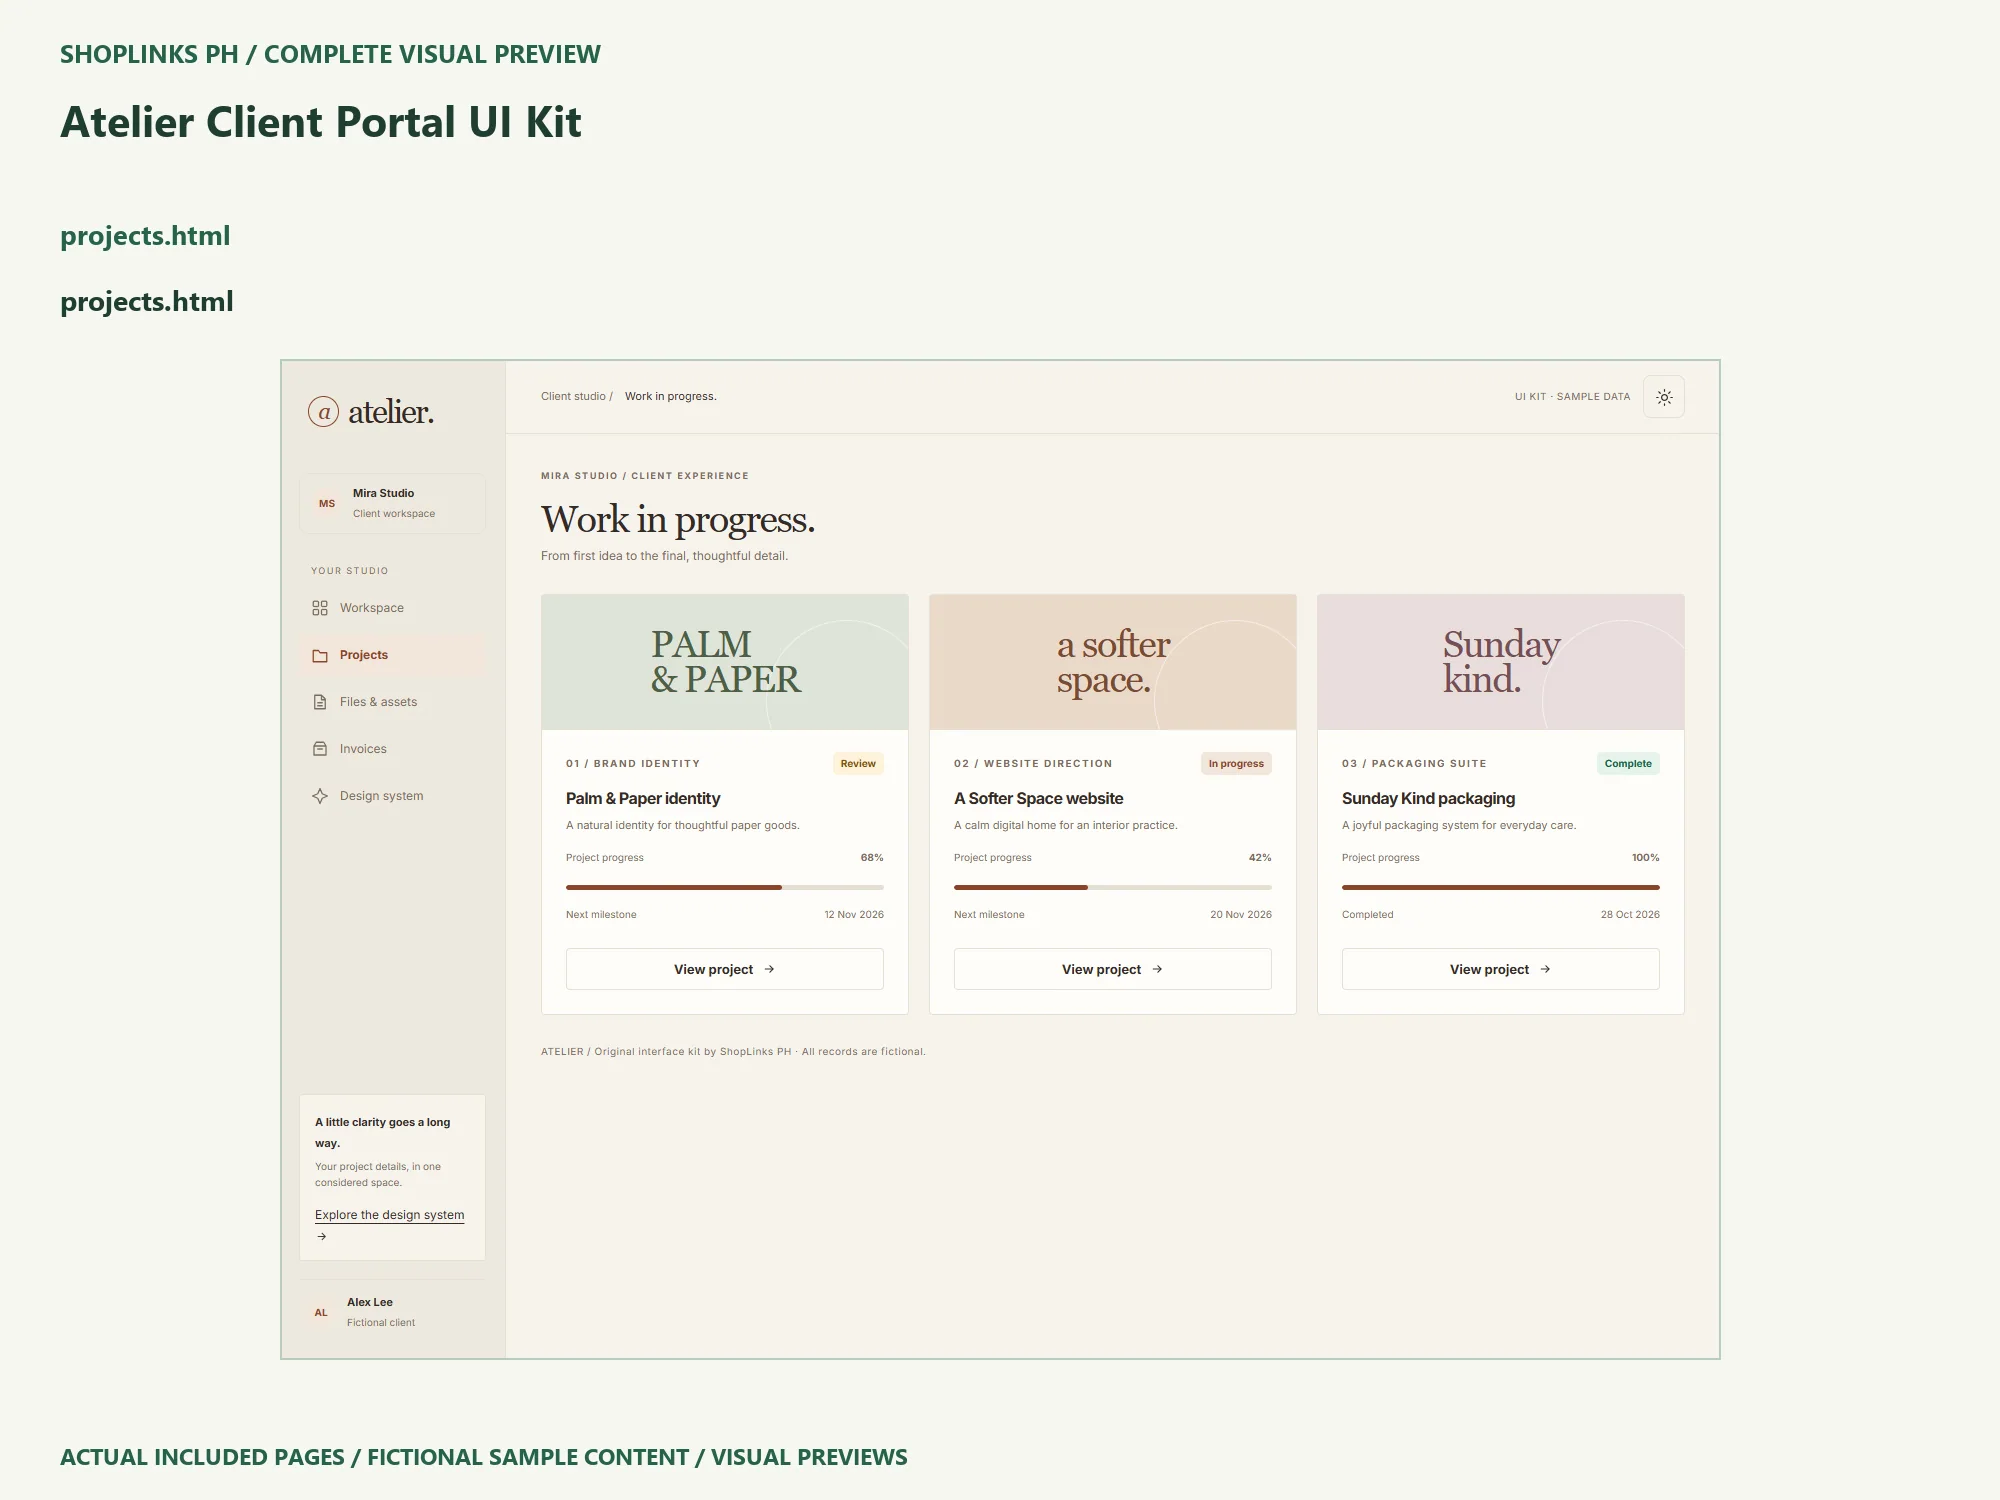
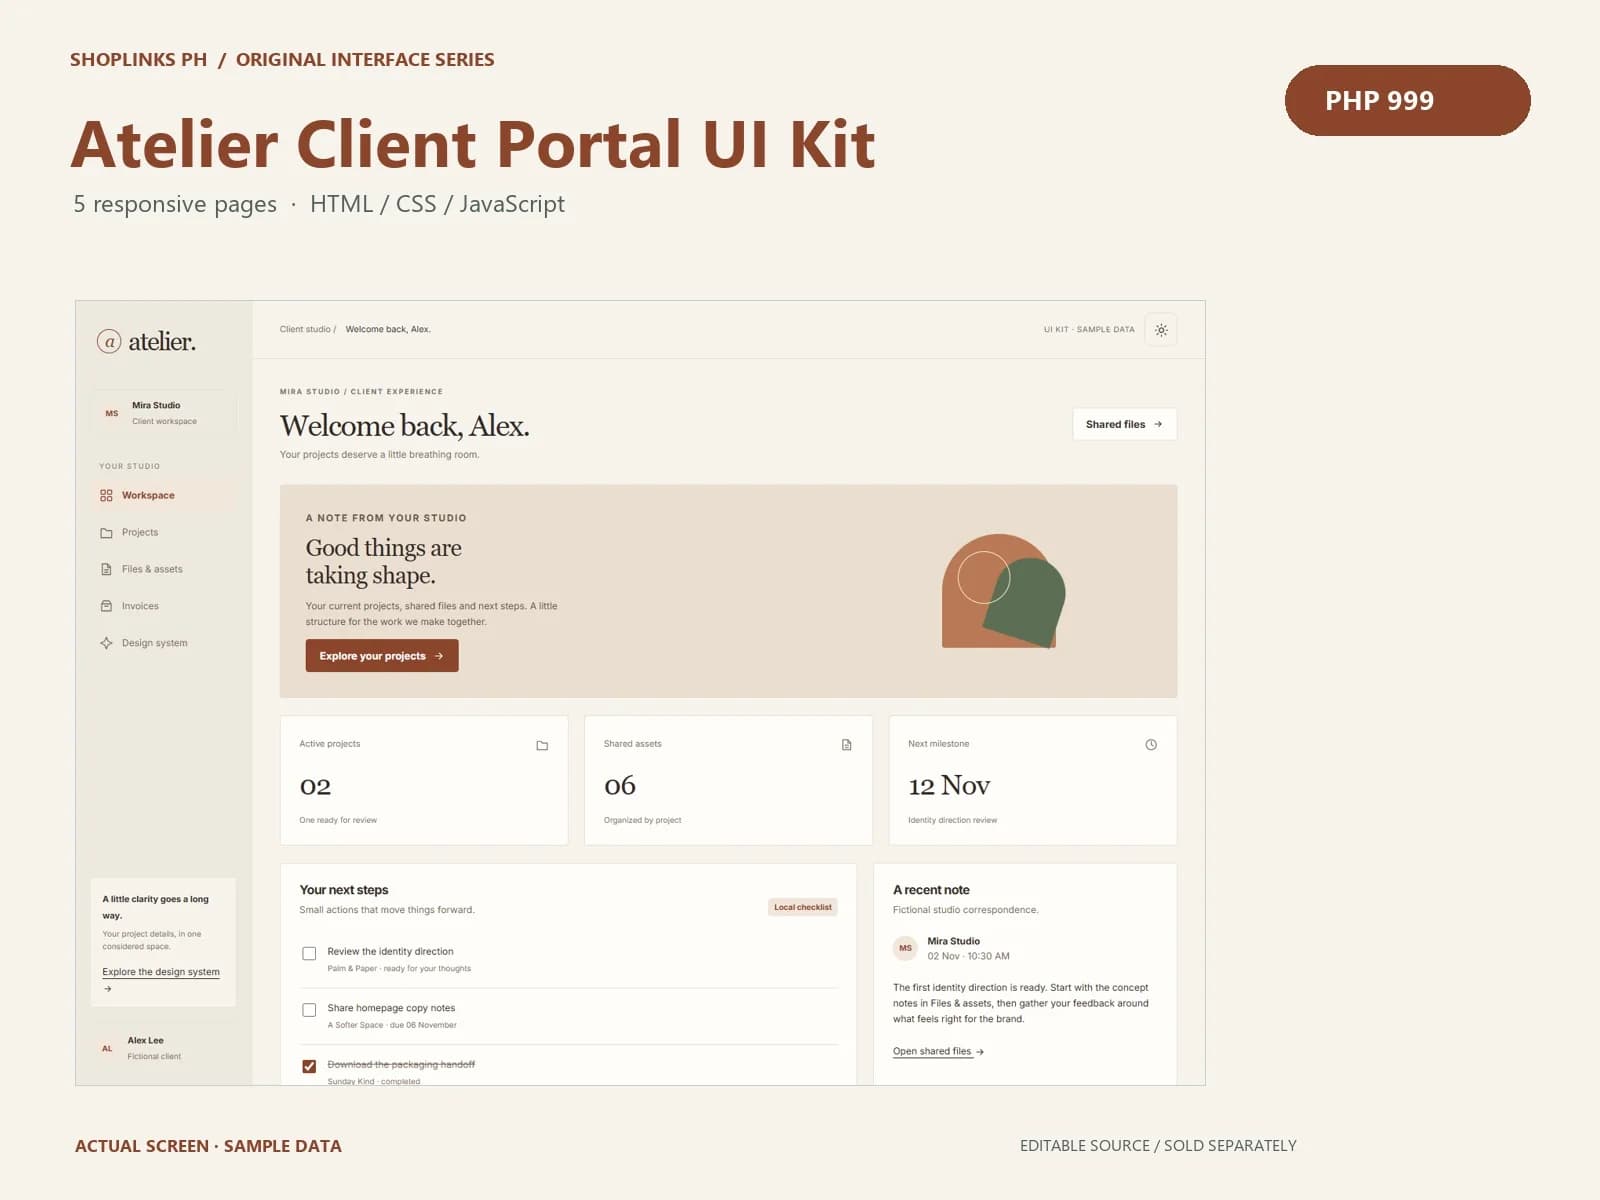
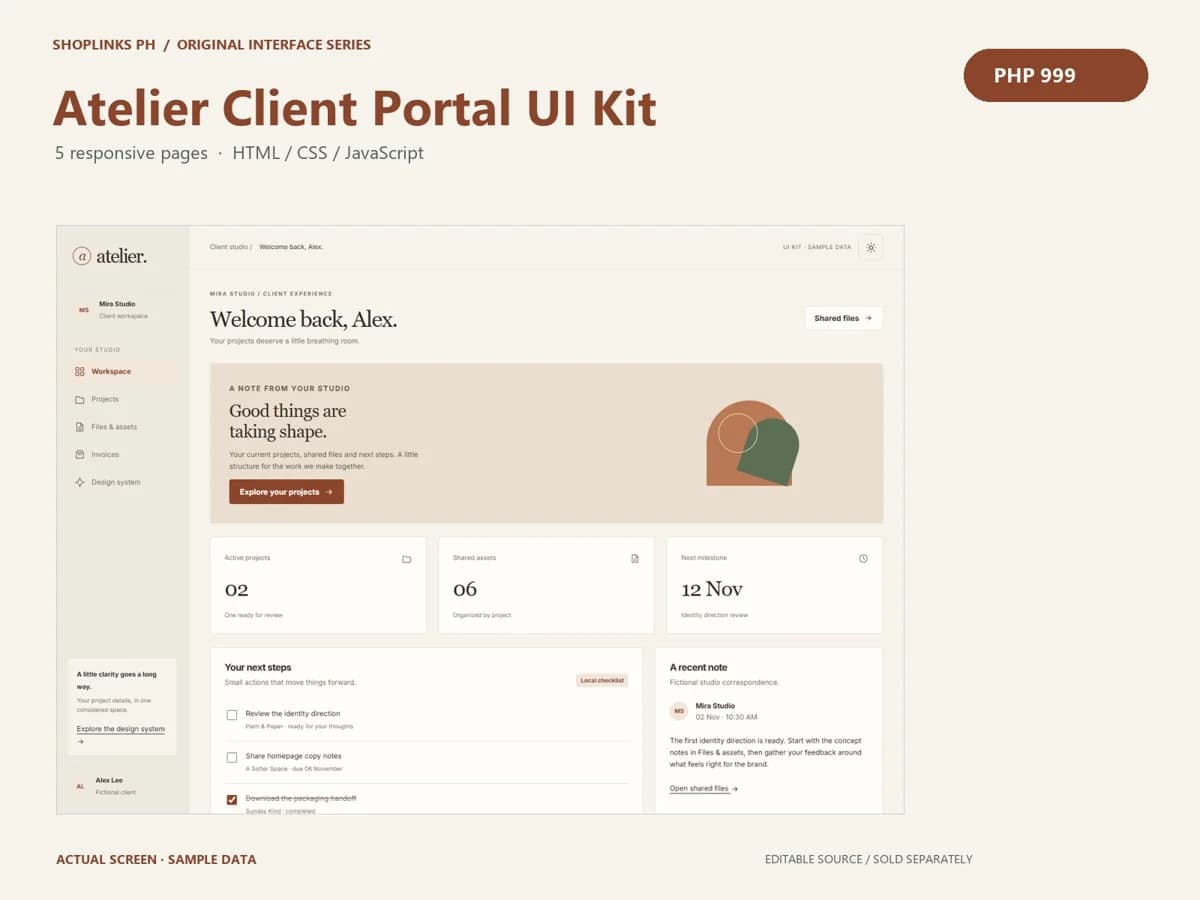
Begin on Workspace and tick the identity-review checklist item. Open Projects and review the Palm & Paper detail dialog. Next, use Files & assets to find Sunday Kind and download its original SVG or text sample. Open an invoice detail and save the sample text. Each action should have an obvious result. The invoice is fictional and processes no payment; private files and real billing require separately implemented services.
Check more than the attractive screen
After customization, inspect the actual phone, tablet and desktop layouts you intend to support. Try a long customer name, an empty search and keyboard navigation. Check visible focus, readable labels and the way tables scroll inside their own container. Inspect downloads independently. The local QA uses Chromium with emulated viewport sizes; that evidence does not replace testing other browser engines, physical devices or assistive technology for a particular launch.
Know which parts are still yours to build
Frontend portal UI kit with fictional projects and invoices. No login, access control, upload service, messaging, payment processing or backend is included. Checklist and theme preferences may be saved in this browser; do not enter sensitive information. Before showing private information, plan identity, authorization, server-side validation and data ownership. Before collecting inquiries or money, test the full external delivery or payment flow in an isolated environment. Do not assume a visual form, a paid-looking badge or an invoice preview supplies a working backend. State these boundaries in the client handoff as well as in your implementation notes.
Keep a useful release copy
Give the edited version a date, keep the source beside its screenshots and record the checks you actually ran. Share a short setup note explaining the starting file, supported environment and remaining integration work. One license covers one end website for your business or one client, including a source handoff for maintaining that site. Editable template resale is prohibited. Explore the kit, its included files and its requirements on the ShopLinks product page: View Atelier Client Portal UI Kit
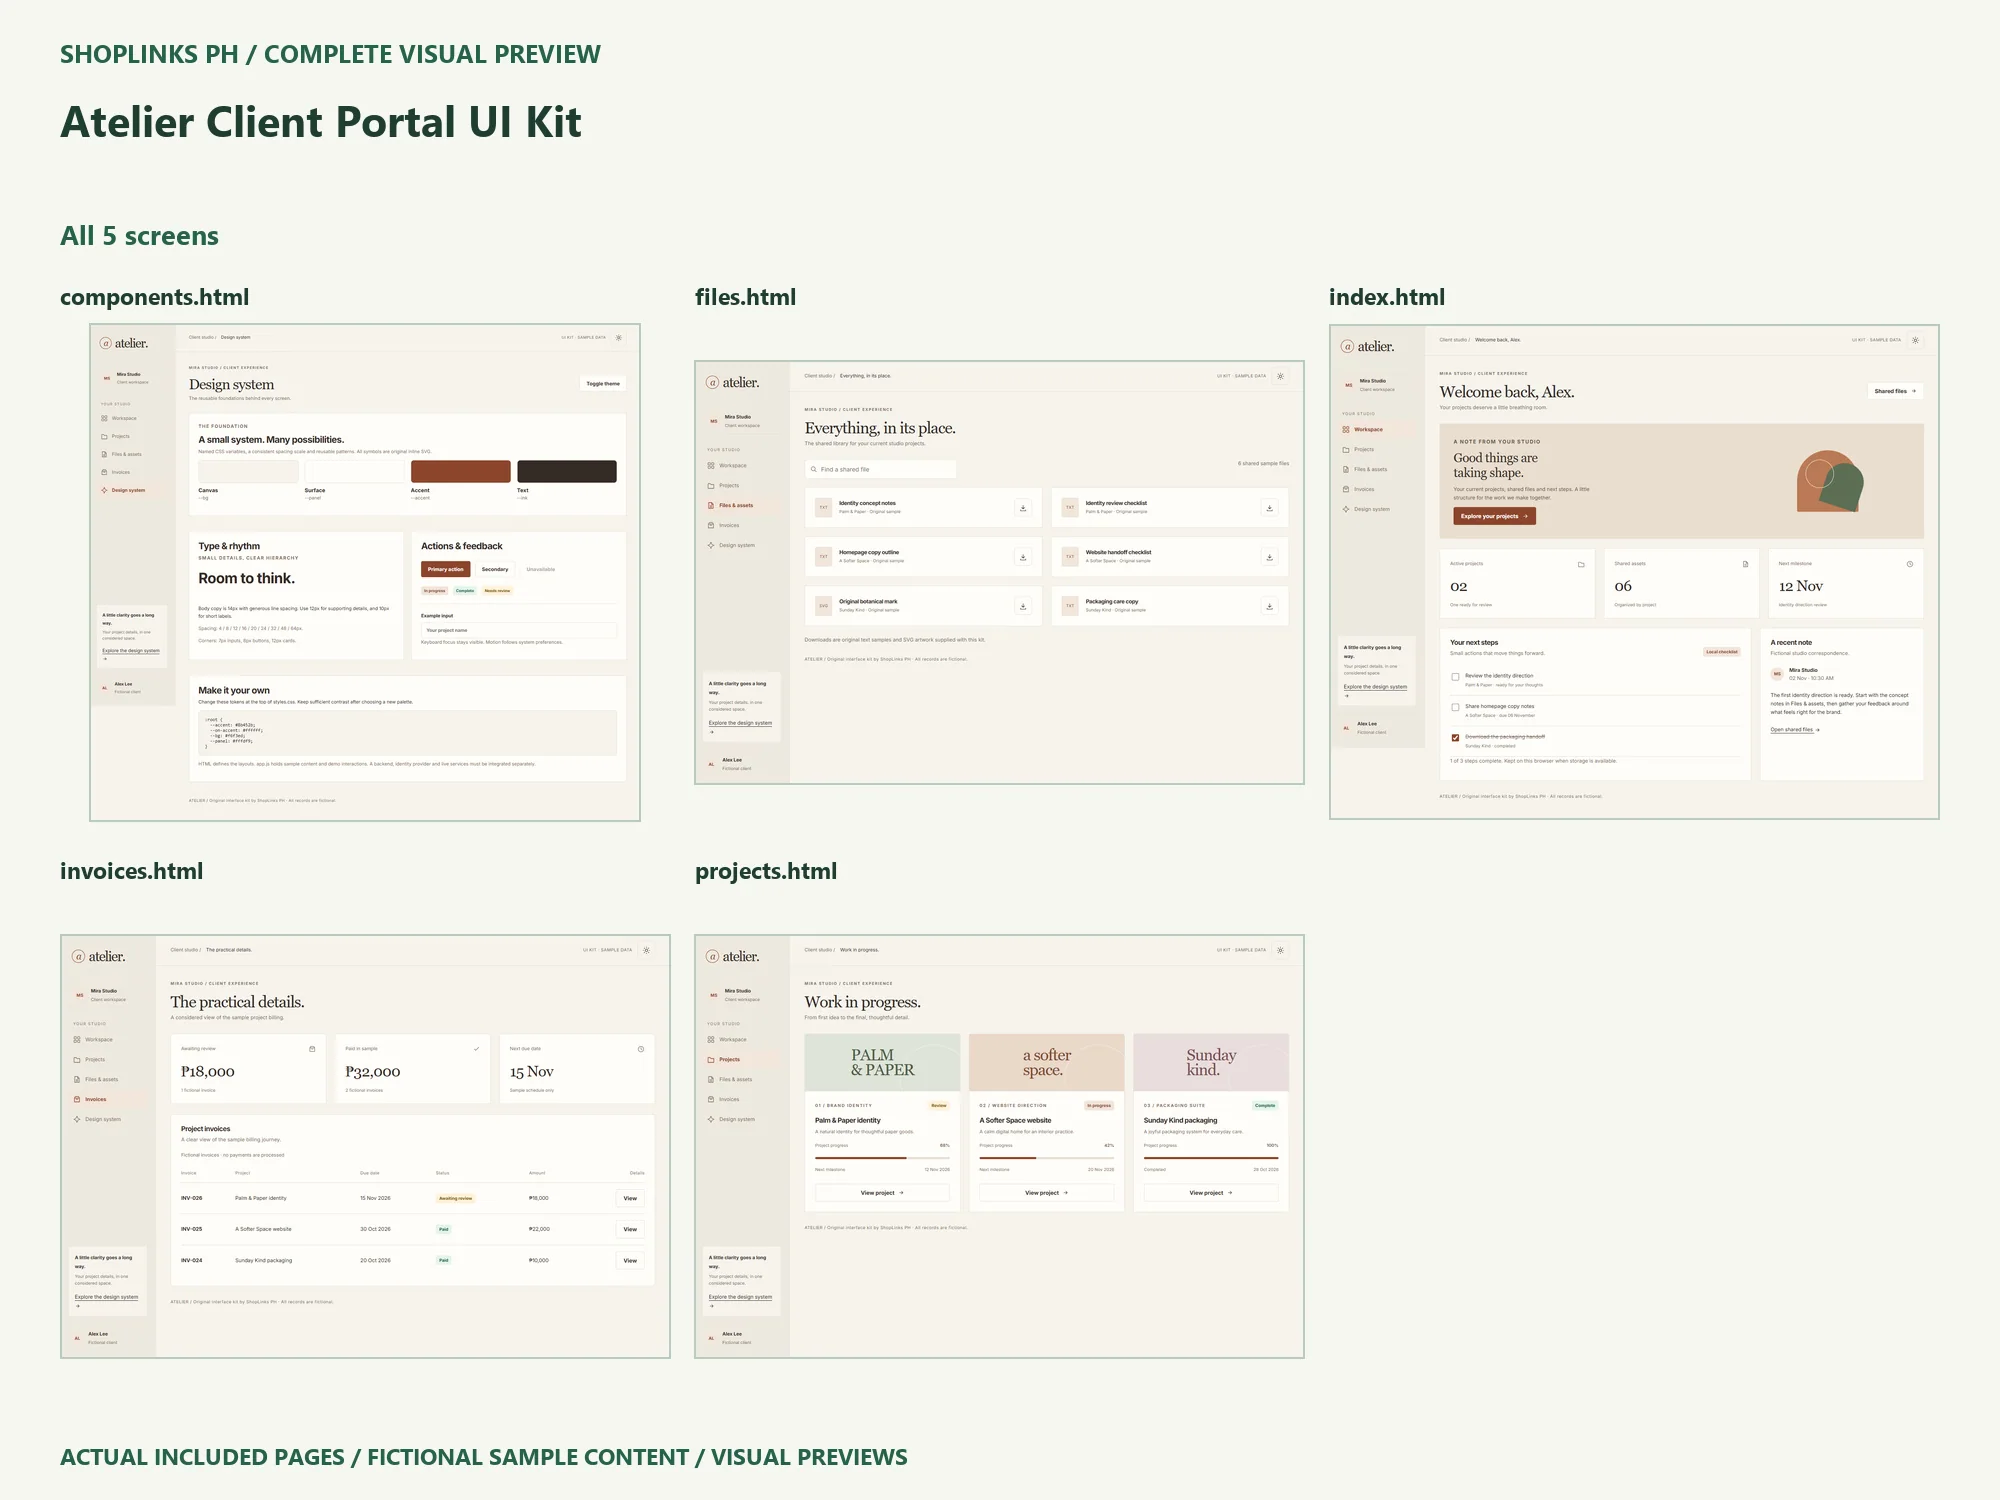
Complete page preview
See all 5 included UI screens below. These are static visual previews of the included source, with fictional sample content. Select an image to open it at full size and use browser zoom.